Users
The Users screen is for managing people who will have access to the IntellaSoft Web Portal to make changes to the phone system, delegate permissions, or other functions such as accessing call logs and voicemail. When a new user account is added, by default that user will be able to log in and see their own voicemail. It is up to the manager who is creating the account to check / un-check the specific permissions for what screens that user should have access to. A very important aspect is the delegation of what users a user can control via the Permission Mode setting with Include or Exclude mode (more on this below).
Video Tutorial -- Please watch Full Screen
Adding a New User
2) Click the New User button.
3) The following fields are required when creating a new User.
| Field |
Type |
Description |
| User | Text | This will be the username for logging into the portal. |
| Password | Text | For logging into the web portal |
| Department | List | Select a department the user will be in |
| Permission Mode | List | Either exclude or include as described below |
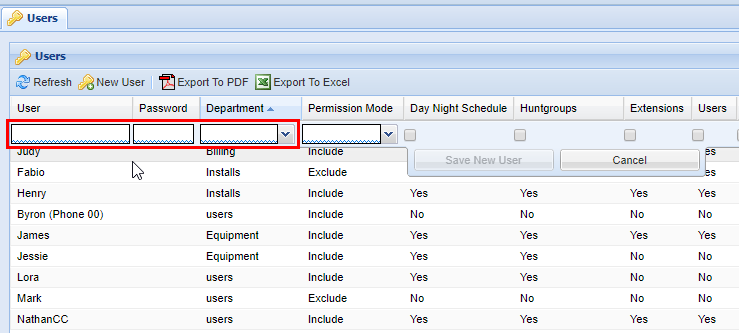
4) Fill in User, Password, and Department.
5) Then set Permission Mode to Include or Exclude. (Explained below)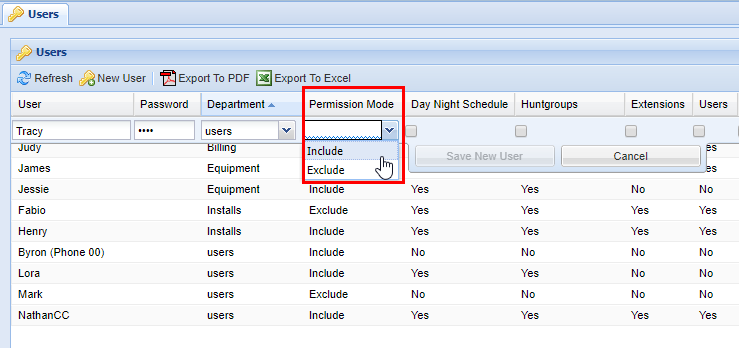
Permission Mode Include: By default, the user will not have access to any other users. Allowed users will be determined by which ones are Included.
For example, use this mode when setting up a manager of a small department. The manager may need access to users Abby, Bob, and Chris. These users would be added as Included Users
Permission Mode Exclude: By default, the user will automatically have access to ALL USERS. Hidden users will be determined by which ones are Excluded.
For example, use this mode when setting up an admin that needs access to the entire system except for the calls and voicemails of the President and Vice President. The President and Vice President would then be added as Excluded Use
6) After selecting the permission mode, select the appropriate Permissions the user will have access to. You will need to use the scroll bar located at the bottom of the users table to view additional permissions. Permissions are on a Per-Screen basis.
For example, if a supervisor account was needed that could only view the call history of the system in Call Logs.
- Make sure that the 'Admin' permission is unchecked
- Make sure that ALL other permissions are unchecked
- Make sure that 'Call Logs' is checked
This user will now only have access to view the Call Logs screen.
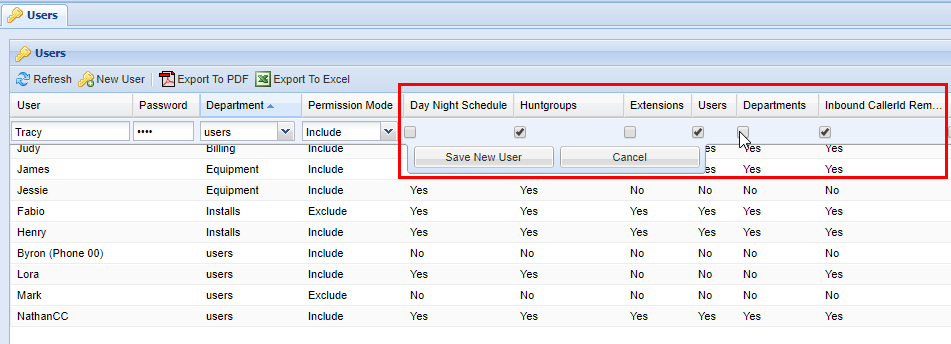
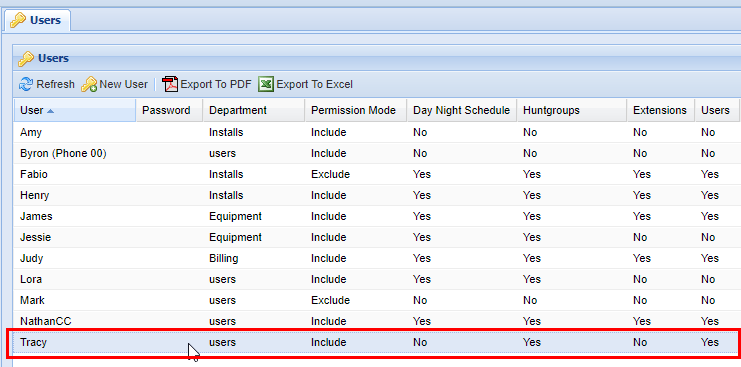
7) After you have confirmed that all the options for the new user are correct, save by clicking on Save New User, or cancel if applicable. Afterwards, a green message will appear stating Changes Saved.

Removing a User
2) From the Users tab, select the correct User you wish to delete. The user you selected will be highlighted in blue, as shown below.
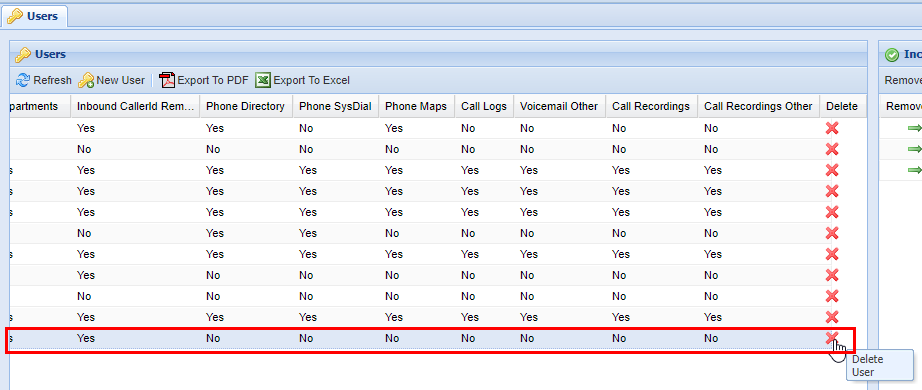
4) A confirmation pop-up will appear confirming your selection. If you wish to delete, click OK. You will see a message stating Changes Saved. If this is not the entry you wish to delete click Cancel.
Including/Excluding Users
For this example, we will use a User that has their permission mode to Include. This means that by default, the User will not have access to any other Users and you must manually include Users. (On the other hand, Users set with an Exclude permission mode will have access to all Users if no users are added to the exclude list.)
Select a User to start adding other users to their Exclude or Include list (permission dependent). The User you are currently adding users for will have its row highlighted like the example below.
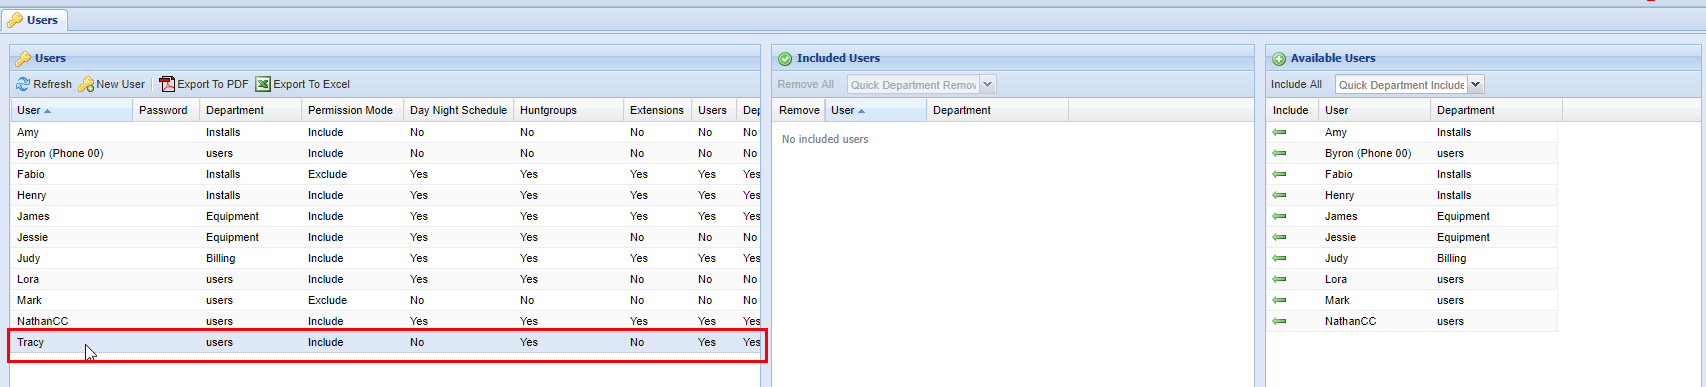

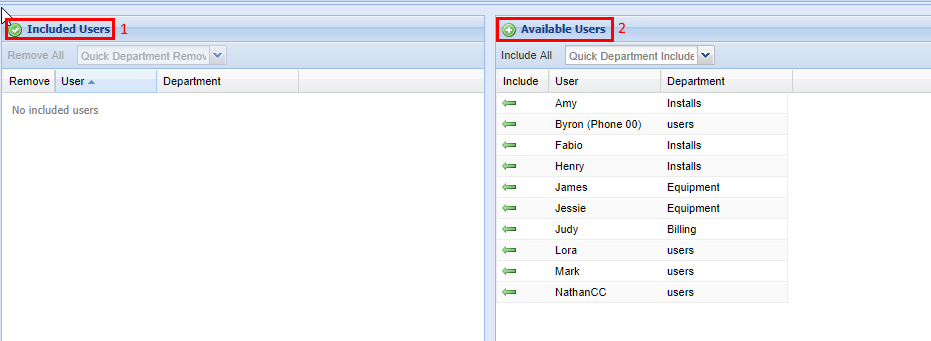
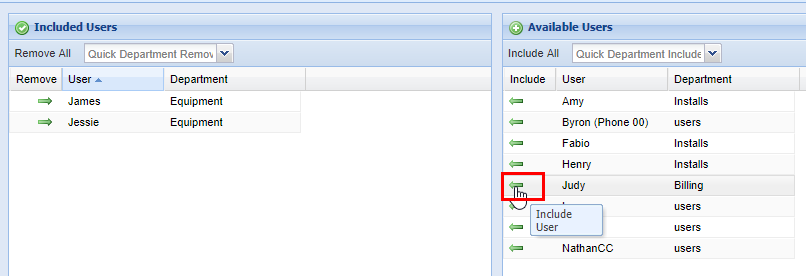
There are two endpoints before we add any users. In addition to the Users panel, there is also the Include/Excluded Users panel (see "1" below. Again this is dependent on what the Permission Mode mode for this particular user is set, if it's an Exclude the text would say Excluded Users as opposed to Included Users) which shows all the users that have been added to the Included/Excluded User list) and the Available Users (shown are all users that can be added to Excluded/Included User list). Again it's important to note that in this particular example, the User Tracy has a Permission Mode set to Include, so these available users are the ones she does NOT have access to.

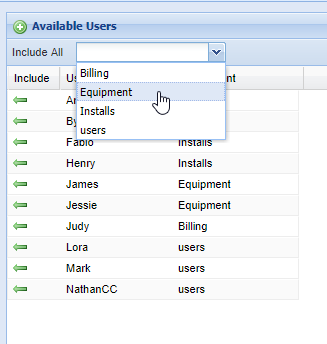
There are three options for adding users to list. You can select the Include All Button (1, adds all the available to users to the list), Green Arrow in the Include Column (2, adds each User to the list individually) or using the Quick Department Include (3, or Exclude, if applicable). For the purposes we are going to add users using the Quick Department Include function. To do this simply click on the drop down menu and a list of the available Departments will appear. This will add Users based on their department and who is available to add in the Available Users list.
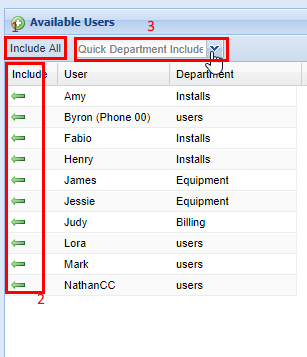
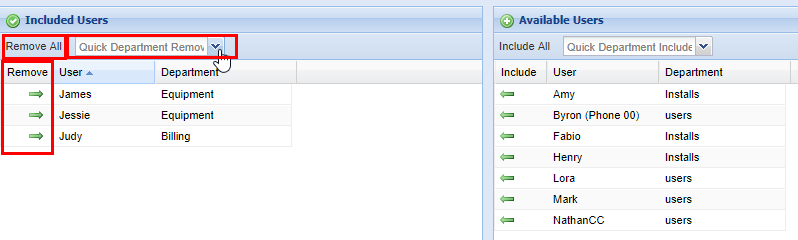
As you can see by the example all Users in the Equipment department were added to the available user list. You can also go through and add Users individually too, or include them all if applicable.

Removing Users from an Include/Exclude Users list works in the opposite way of adding them to list from the Available Users list. You are able to remove them individually via the right pointing green arrow, remove all at once, or remove by department (the same way you can from the Available User list).
Including/Excluding Phone Numbers
You can also grant permissions to a User on a per-phone number basis, allowing them to see call records for users they are not otherwise allowed to modify.
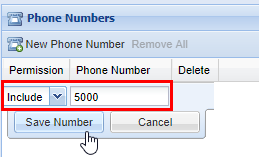
2) While in the Phone Numbers panel click the button labeled New Phone Number, a row editor will appear in the grid below.
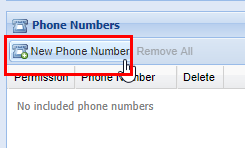
Enter a permission type from the drop-down based on the phone number you are going to include or exclude for this user. Afterwards, enter a phone number. This can range from an internal extension to an outside long-distance phone number. When you are satisfied click the Save New Number button, after you will see a message stating Changes Saved.
If you need to remove a member, locate the Phone Numbers panel after you've selected the User you wish to modify, and click the red X in the Delete column. A confirmation pop-up will appear confirming your selection. If you wish to delete, click OK. You will see a message stating Changes Saved. If this is not the entry to wish to delete, click Cancel.

No comments to display
No comments to display