PhoneMap Groups
Overview
A PhoneMap Group is a one to one mapping from one destination to another. There can be multiple PhoneMap Group Members, but only one should be active at all times.
Adding a New PhoneMap Group
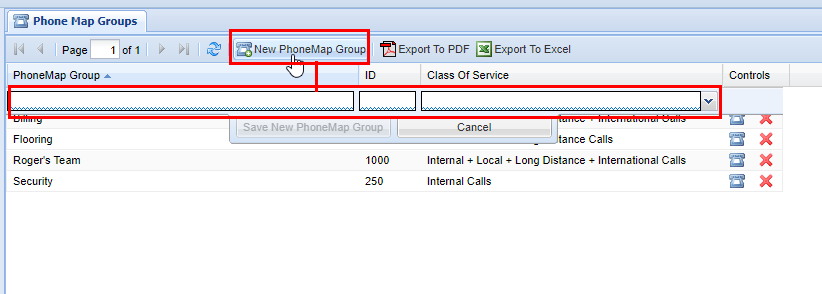

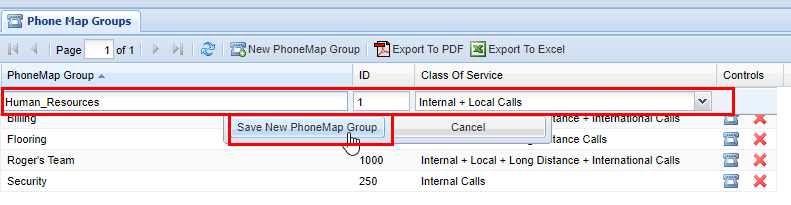
Enter a PhoneMap Group Name, and PhoneMap Group ID, these are up to preference but should be based on your organization's need. The ID must be a [Token]. Lastly select an appropriate Class of Service for the PhoneMap Group. When you are finished click Save New PhoneMap Group to save the PhoneMap Group, otherwise click Cancel. After you have saved you will see a message stating Changes Saved.

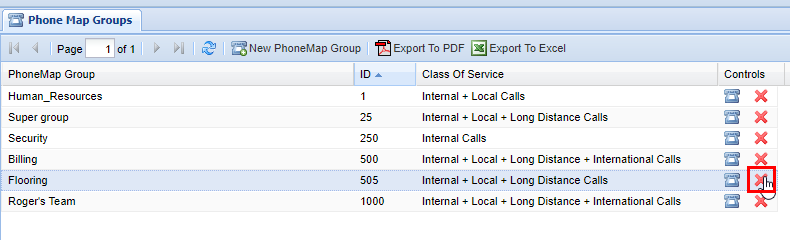
Deleting a PhoneMap Group
It is important to remember that when you delete a PhoneMap Group that any of the mappings that fall under the PhoneMap Groups will also be removed. Always double check the mappings to ensure that no phones that are critical to active phone system will be removed. If in doubt, contact your system administrator. For more information on PhoneMap Group Mappings and Members click here.

No comments to display
No comments to display