Queue Leave Conditions
Overview
This screen is for setting maximum wait times that callers may wait in a Queue before going to an unavailable destination. This is optional, but it is useful if there is a need for a caller to be sent to Voicemail, a specific extension, or even another Queue, among other options. It is useful because you can specify certain periods in the day when there may be a shortage of Agents in the Queue or when they may be too busy to receive incoming calls.
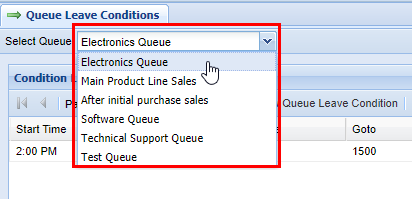
Ensure that you selected the correct Queue before making any changes. You can select a Queue via the drop-down menu in the top left-hand portion of the Queue Leave Conditions screen (see image below).
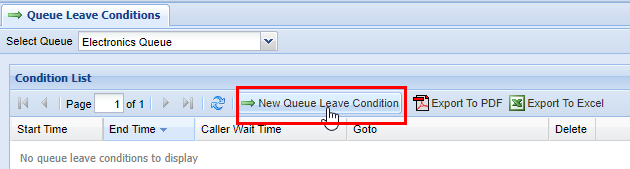
Adding a New Queue Leave Condition
2) Select the correct Queue via the drop Select Queue function at the top left-hand part of the screen.
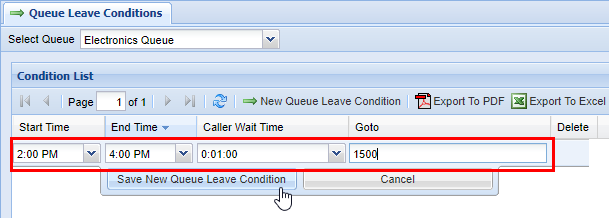
4) Next choose a Start Time, End Time, Caller Wait Time, and Goto destination.
| Name |
Type |
Description |
|
| Required | Start Time | List | Start Time (24 hour clock) |
| End Time | List | End Time (24 hour clock) | |
| Caller Wait Time | List | Caller Queue Queue Wait Time (15 second increments) | |
| Goto | Field | Usually numeric, goes to unavailable destination |
5) Click the Save Queue Leave Condition button. After you click save you will see a message stating Changes Saved.

Removing a Queue Leave Condition
2) Find the Queue Leave Condition you wish to delete, highlight it by clicking on it, and then click the red X under the Delete column.
3) A confirmation pop-up will appear confirming your selection. Click OK. You will see a message stating Changes Saved.

No comments to display
No comments to display