Agent Assignments Schedule
Overview
This screen is dedicated to assigning specific schedules to Agents, whether it be on a temporary or permanent basis.
Often this feature is used to assign Agents to specific Queues during times when other people who are normally staffed to that Queue are unavailable.
Note: An Agent must log in before the schedule change becomes active.
-
Example 1: The main sales team takes a lunch every day from 12:00-1:00 PM. An Agent (or multiple Agents) is assigned to this Queue to help with potential sales calls while the normally staffed Agents are out at lunch. This would be an example of a recurring semi-permanent schedule
- Example 2: On a particular day there is going to be a 2-hour meeting with the Installation team between 2:00-4:00 PM, so a temporary schedule is assigned to a specified number of Agents to field these calls during this meeting. When the meeting is over, the schedule will be deleted.
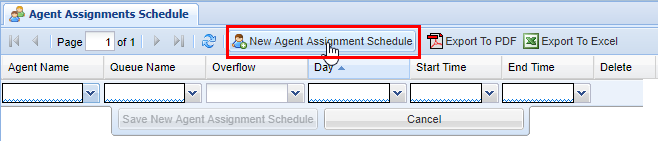
Adding an Agent Assignments Schedule
| Name |
Type |
Description |
|
| Required | Agent Name | List | For preexisting Agent |
| Queue Name | List | For Preexisting Queue | |
| Day | List | Day of Week | |
| Start Time | List | Start Time (24 hour clock) | |
| End | List | End Time (24 hour clock) | |
| Optional | Overflow | List | Priority |
2) Next choose an Agent Name, Queue Name, Day, Start Time, and End Time for the Schedule. Overflow is optional but is useful if you have multiple Queue assignments in place.
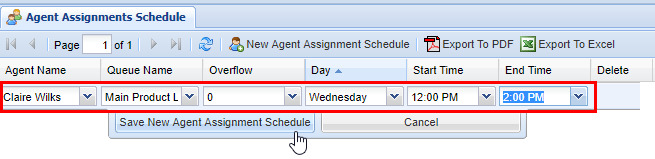
3) Click the Save New Agent Assignment Schedule button. After you click save, you will see a message stating Changes Saved.

Deleting an Agent Assignments Schedule
2) Find the Agent Assignments Schedule you wish to delete, highlight by clicking on it, and then click the red X under the Delete column.
3) A confirmation pop-up will appear confirming your selection. Click OK, you will see a message stating Changes Saved.

No comments to display
No comments to display